D-Day +3 skirmish game
>> Tuesday, 8 June 2010
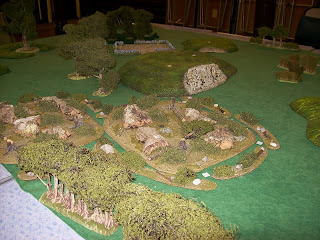
D-Day +3 game at Tyneside Wargames Club played on Saturday 5th June 2010
Situation
It is D+3 in the British sector of the Normandy beachhead. The Army is pushing inland prior to the major assault planned against Caen.
As the British anti-tank capability at squad level is rather limited (Gammon bombs etc!), a 6-pounder has been given them together with one of the PIAT teams from Company.
The British advanced their squads in a line formation, using the solo system in the rules to decide where the 6 pounder , 2” mortar and PIAT teams went. Curiously, the AT teams both went in support of the right hand squad, and the 2" mortar stayed back initially in support of the centre.
The centre and left sections advanced cautiously through some woods to their front and were shot up by 2 squads of German infantry waiting in ambush, and had to fall back quickly after taking several casualties.
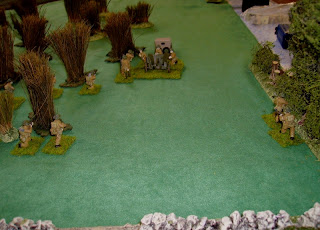
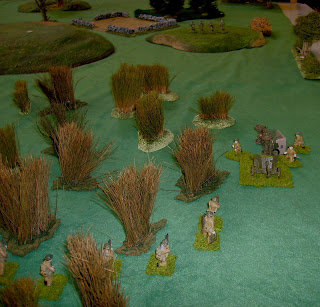
On the right, the advancing squad, supported by the AT teams forged ahead through an enclosure and into an area of long grass.
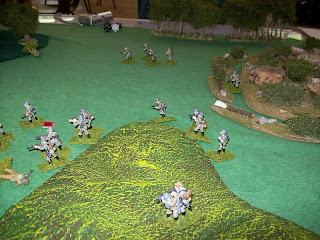
Hearing the fire to their left, the 6 pounder moved a little ahead of the infantry and were ambushed themselves by a half section of Germans on a low rise to their front – supported by a Stug III!.
In the first volley, the Jeep driver was killed and the vehicle crashed. Fortunately only one of the gun crew was injured. They set up their gun and hid behind the wrecked jeep and their gun shield.
The supporting infantry filtered forward in cover and eventually drove the Germans from the rise, while the 6 pounder managed to disable the Stugs gun, though only after a couple of near misses from the Stugs 75mm! – they were lucky!
The Piat team was, incidentally, unable to help due to all the lead flying about.
Back in the centre, the German infantry, seeing their opponents falling back decided to counterattack. The British infantry, however, were not as beaten as the Germans believed, and managed to ambush the advancing Germans in turn after a vicious close range firefight. The Bren guns especially proving their worth!
The remaining Germans fell back and abandoned their previous position, allowing the battered but unbowed British to move up in support of their heavily engaged right hand squad.
Back on the right, the Stug retreated from the table for repairs, and the British infantry followed up onto the rise previously occupied by its supporting infantry. No sooner than they got to the top when they came under heavy fire from two emplaced Medium Machine guns set up in a copse on the other side.
These caused several casualties.
Having achieved their objective of clearing the enemy armour from the forthcoming advance, and having already taken casualties, the British fell back, ending the game.
Conclusion
The British had taken about 20% casualties, and had not killed the Stug, leaving a question mark over whether this operation could be considered a success.Also, when we checked the hidden counters remaining as we were clearing up, we found the British had missed a Pak 40 lurking in another part of the table…
Pictures by Lawrence and Richard.
Figures: Germans-Black tree, British-Crusader
Rules - our own


0 comments:
Post a Comment